All Posts
Advanced Carving Techniques: Shading and Etching
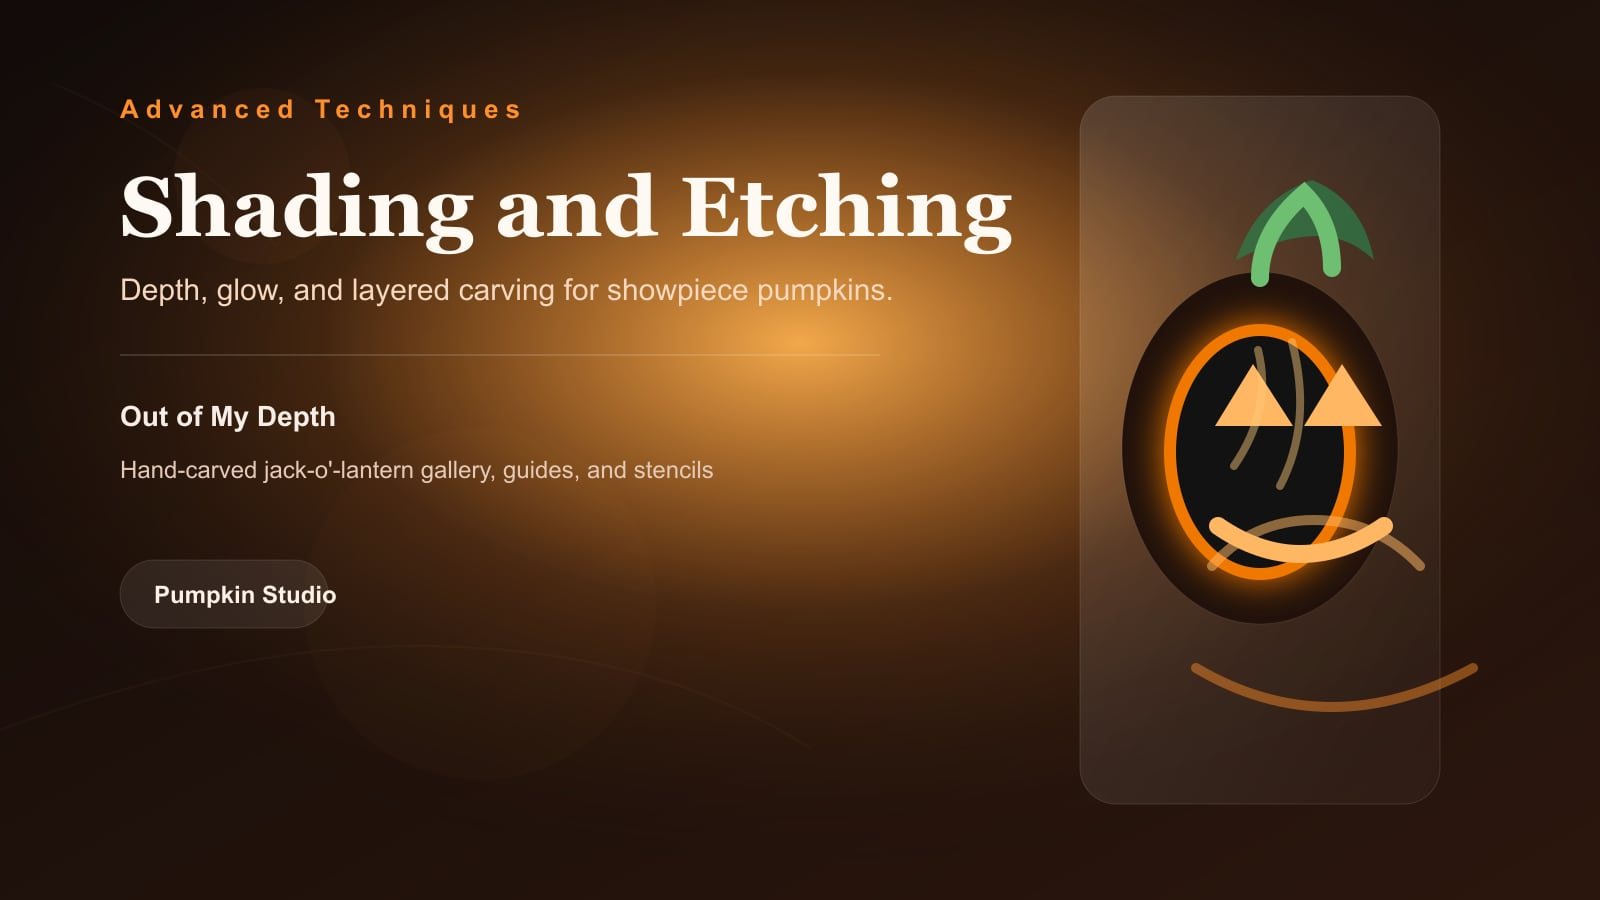
Go beyond simple cut-throughs with depth shading, etching, and multi-layer designs that glow in three dimensions.
Once you’ve mastered the basics, a whole new world of technique opens up. The key insight: you don’t have to cut all the way through.
Etching (Shallow Relief)
By removing only the outer skin and a thin layer of flesh, you create areas that glow softly rather than brightly. This allows for:
- Gradient effects (lighter to darker)
- Hair, fur, and feather textures
- Background tone vs. foreground detail
Use a linoleum cutter or a Dremel with a small ball bit. Work slowly and check your depth often — you want the flesh translucent, not perforated.
The Three-Depth Method
For maximum drama, combine three levels:
- Full cut-through — for bright highlights (eyes, focal points)
- Half depth — for midtones and secondary detail
- Surface etch — for shadows and texture
This technique makes a 2D stencil look three-dimensional when lit.
Preserving Your Work
- Rub petroleum jelly on all cut surfaces immediately after carving
- Store the pumpkin in the refrigerator when not on display
- Rehydrate by soaking in cold water for 1–2 hours if it starts to wrinkle
A well-preserved pumpkin can last 2–3 weeks.